The BYU Humanities Theme was specifically created for departments and programs within the College of Humanities at BYU. Since it is a custom theme and we are student employees, there are some limitations. These are the ins and outs of using the BYU Humanities Theme. You can learn the basics about this stuff on the WordPress User Guide as well as the training videos that were created. Having used this theme so many times, however, we’ve picked up some extra tips along the way. Keep reading to find out how we use this theme to the best of our abilities.
The color on each website’s menu banner and hanging ribbon should be the same as the wall in its physical office location in the JFSB. If you’re ever unsure about a color, you can go to the office and check the wall! The banner and ribbon, however, will show up light because they have a transparent effect on them, to show the hero image in the background. The items in any submenu, however, will show up with the correct color.
This is a list of the hex codes for the menu banners in case you ever needed them (Erin Jackson also has this information):
- Humanities: #feda63
- Asian & Near Eastern Languages: #4c2f40
- English: #007573
- French & Italian: #7d9c91
- German & Russian: #67b2e7
- Comparative Arts & Letters: #cb8048
- Linguistics: #71a4e8
- Philosophy: #2a7150
- Spanish & Portuguese: #490e65
- Office of Digital Humanities: #886378
- Center for Language Studies: #a84239
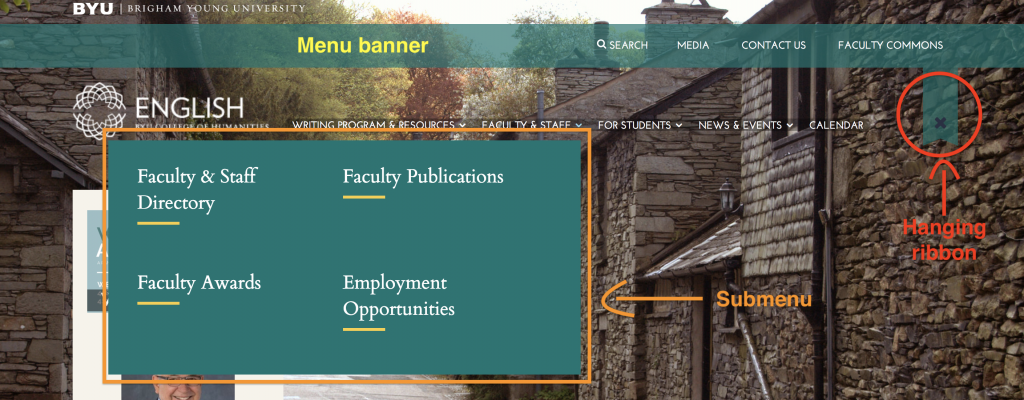
There are two menus on each of the Humanities site: the BYUH menu at the top and their own custom menu that sits underneath.
The BYUH menu can be changed with a few different things, but those options are populated from the main theme. The color on the background of this menu and on the little hanging ribbon are chosen based on the color of the physical wall in the office of that department or program. The department/program menu can be customized in any way they’d like.
What it looks like

Other Examples


To add content of any kind to a page, you need to click on the “Add Content Section” button. There are a few different ways content can be displayed and interacted with, which you can keep reading more about below.

Default content is a simple text box. You can add pictures, videos, PDFs, links, or other types of content into it. When certain plugins are installed, you can also add a Gravity Form or other types of content.
What it looks like in WordPress


This feature creates a nice layout of pictures that will link to other pages or websites. It has the option to put in any link you want, so it can link in or out of the current website (some content types only let you link to the current website).
The grid will always have the 5 sections pictured below. If you do not put in a picture for a certain section, it will show as blank with a flipping side when you hover over it.
In the example below, there are instructions to hover over the picture for info. This was added in a Default Content section separately and will not show up automatically when you add this content type.
What it looks like in WordPress


What it looks like when you hover over it

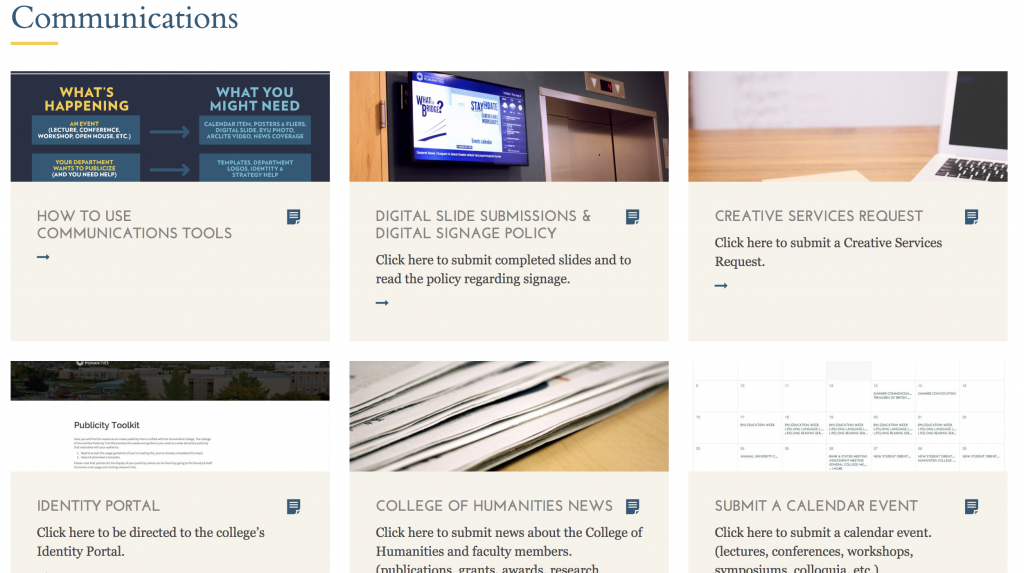
This content type creates a different type of grid than the one above. It shows a list, but just in rows of three squares each. The content is can be pages, posts, media, links, etc. as long as it’s something that’s already on the site. So if it’s media, you’d want to add whatever it is to the media library before you use this content type to display it.
What it looks like in WordPress


The program grid shows rows of different tiles with pictures and titles on the bottom. You must click on them for them to flip over and show the arrow to click on for the link. Many of the staff don’t really like these tiles since you have to click them to make them flip, and they have gained the unfortunate, yet comical, name of “flipping tiles.”
How to use the Program Grid
- Go in to the “Programs” tab and create the titles that you’d like to appear on the tiles. Add the picture you’d like as the background in the lower righthand corner where it says “Featured Image.”

- The place where you’d like the tile to redirect is under “Home Page Link.” It can be a page you’ve created on the website already (with the same title and with the information you’d like to display) or an external page. If you don’t put anything here, the tile will keep redirecting to the exact same page over and over again.

- Once you’ve created the programs you want on a certain page, create the Program Grid content type. You’ll get a list of all the programs that have been created on the site. To add the one(s) you want, hover over it and click on the “+” that will appear on the right side.

- Add as many programs as you want. If you accidentally add one that you didn’t mean to, just hover over it and click on the “-” that will appear to the right side.

- The tiles will appear in the order that you put them on the list on the righthand side, but you can change the order by clicking and holding a program, then dragging it to the position you want.

- It’s always good to make sure something works, so click on “Preview Changes” before you publish and check that the links work properly.
What it looks like in WordPress


What it looks like when you click and it flips

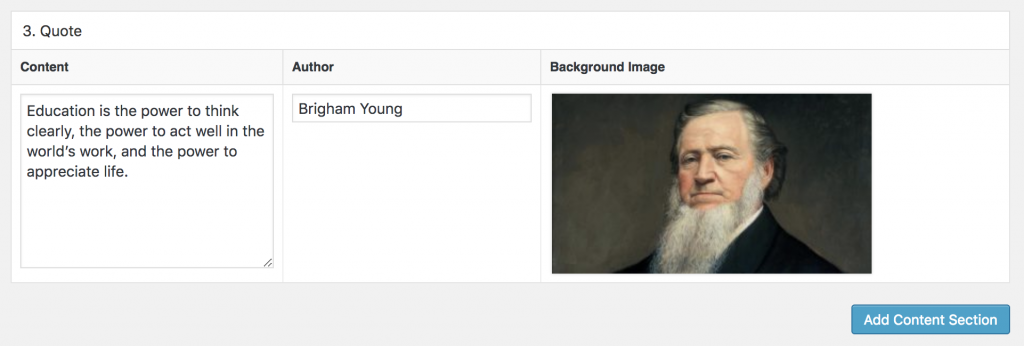
This is an easy content type to work with. It doesn’t have any functionality other than to display a quote in a nice way.
What it looks like in WordPress
What it looks like on a page

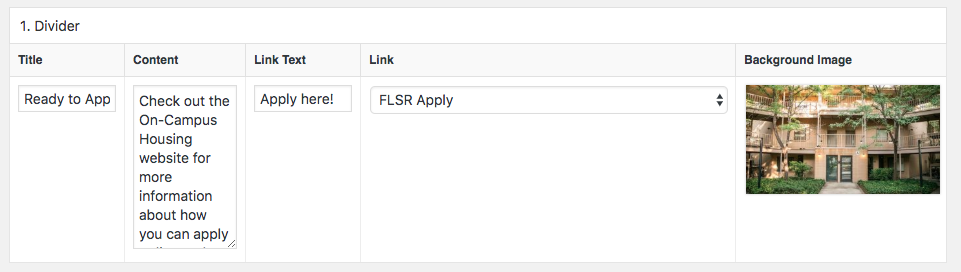
The divider is a nice way to link to another page on the website and include a picture. It really sticks out on the page and calls attention to what’s there. It can only be linked to other pages or posts on the current website, not to anywhere external.
What it looks like in WordPress
The options menu shows posts and pages


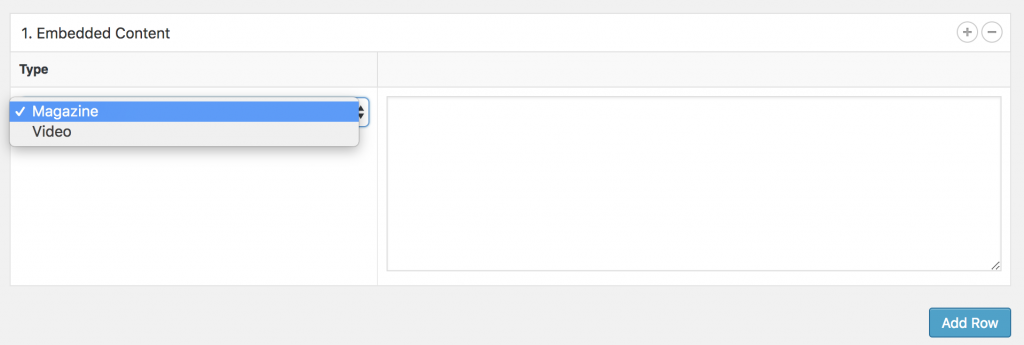
Embedded content is a way to show a magazine or a video. This can, of course, also be done by adding a short code or some HTML to a default content box, but this way will ensure that the embedded content comes out looking nice.
What it looks like on WordPress
What it looks like on a page (this particular content was embedded with a short code from Issuu, but you can embed with a short code from wherever)

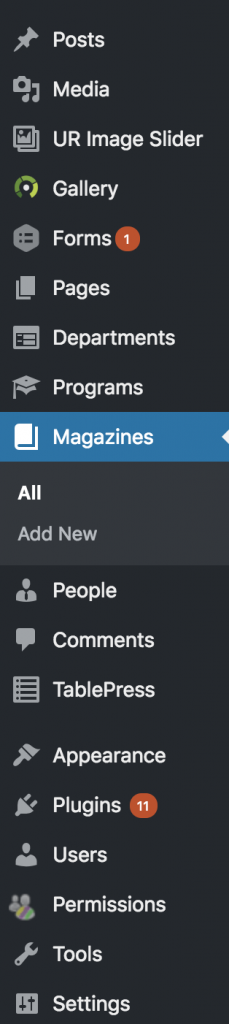
They must have the Magazines option on the sidebar to be able to embed a magazine, but a video can be embedded as long as you have the short code form YouTube
To get this content type to work, you can follow the instructions from “Content: Program Grid,” although it displays differently on a page. The point is to give people the option to browse through the magazines available on a certain site so that they can quickly and easily find the one they’re looking for.
What it looks like on WordPress

What it looks like on a page

This content type isn’t much different from others that show pictures and links; it just does so in a different format. It looks nice for short or long lists, and can link internally or externally.
What it looks like in WordPress


This is a good content type for making documents available to a wide audience. It cuts down on emails for staff because then people can just download and print these off themselves instead of always asking a secretary or someone else to do it for them. The files must be already uploaded and available in the media library for them to show up when you’re creating the media list.
What it looks like in WordPress

